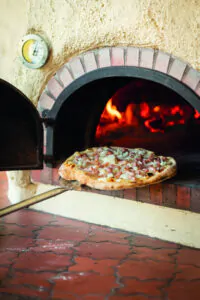
How to dehumidify your oven ?
Initial start-ups should be carried out very gradually. This start-up corresponds to the dehumidification of the oven, and must be carried out carefully.
The drying is done like this:
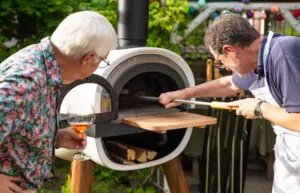
- The first day, when the fire is lit for the first time keep it low for 7 to 8 hours at the center of the floor and pay attention that the flame does not lick the vault. Then close the insulating door to keep the temperature in the oven.
- On the second day you must repeat the same procedure for 7 to 8 hours.
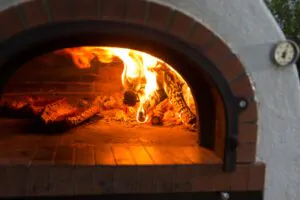
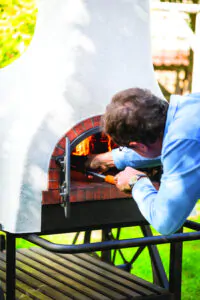
- On the third day, we light a smooth fire and 2 hours later, it is possible to place bigger logs of wood. The flame can lick the vault on 20 or 30 cm only, for 5 to 6 hours. Then we move the fire on the floor in order it can dry each part of the oven. For these three days, the vault remains black .
- On the fourth day, it is possible to warm a bit more and reach 100°C after 2 hours . The flame can then be longer to get a white vault on 1/3 of the surface. Then do go on putting logs of wood to dry the whole vault and get it white.
On the first day the temperature should not exceed 60°C and 90°C on the second and third day.
If you don’t use the oven for a period (6 month if you leave at shirtsleeves climate or 3 month if you have a raw climate ) it is necessary to dry again the oven : The day before using the oven, make a slow fire at the center of the floor . (The maximum temperature will be 80°C with short flame that will not lick the vault) . Do keep the fire for 2 to 3 hours and once the fire is dead, close the door of the oven.
Some micro cracks may appear on 12 – 13 centimeters but they neither alter the quality nor the longevity of the oven . If the cracks reach the top of the vault, it means that you have not respected the drying procedure.


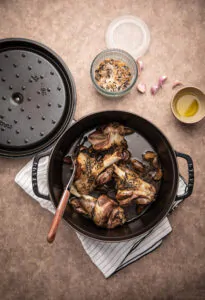


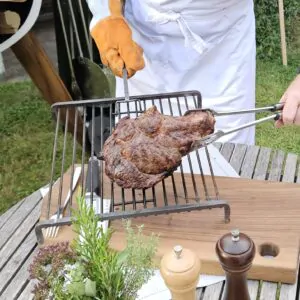


 Thanks to this recipe specially designed for wood-fired cooking, treat your guests to a tender, flavourful turkey that's golden brown to perfection.

