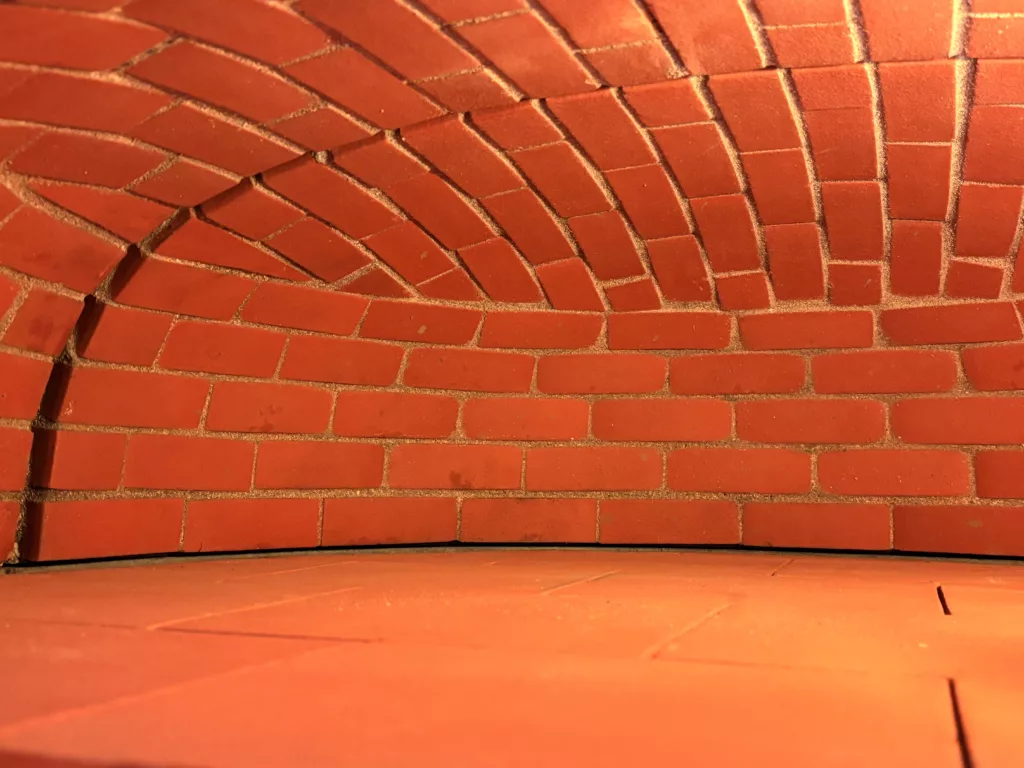
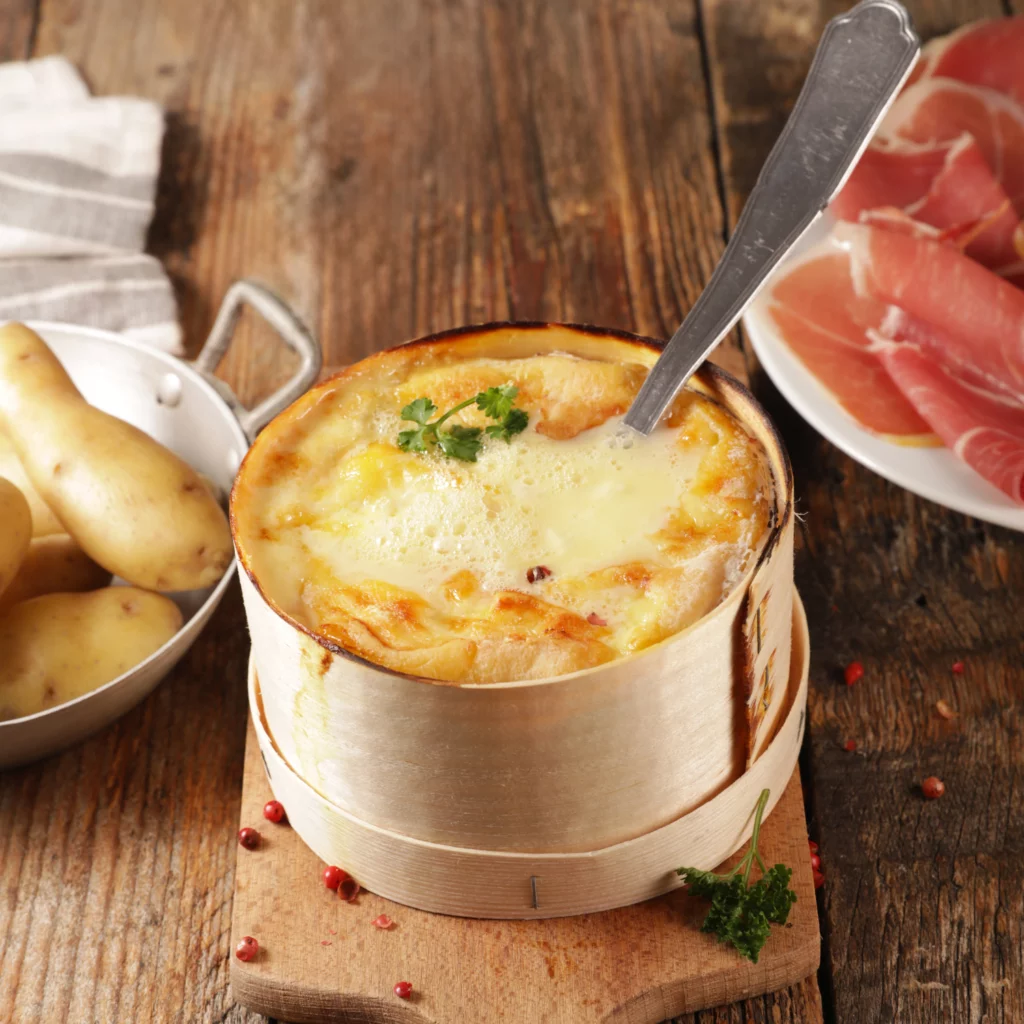
Get ready to be amazed by some of Grandma’s never-before-seen tricks for unlocking the full potential of your wood-fired oven! Discover well-kept secrets on how to get to know and use your oven better, and become a true wood-fired cooking expert.
Read moreIngredients
- T65 all-purpose semi wholemeal flour
- Spring water
- Salt
- Materials: 1 jam jar with a screw-on lid or a canning jar with a seal like our grandmothers used to use
Preparation stages
Start preparing your bread dough. Pour the liquid sourdough and water into a large bowl and mix well. The consistency will be very liquid. Add the flour and salt all at once. Be careful never to mix the salt and sourdough directly, as the ferments will be destroyed!
Mix by hand for 5 to 7 minutes or in the food processor on speed 1 for 2 minutes. Dust the work surface with flour and wet your hands to make it easier to remove the dough from the food processor or the bowl (if you are kneading by hand). ‘Roll the dough into a ball and squeeze it a little between your hands. Leave it to rest in the bowl covered with a clean damp cloth or cling film. Leave the dough in a room at 20-25°C for 10 hours.
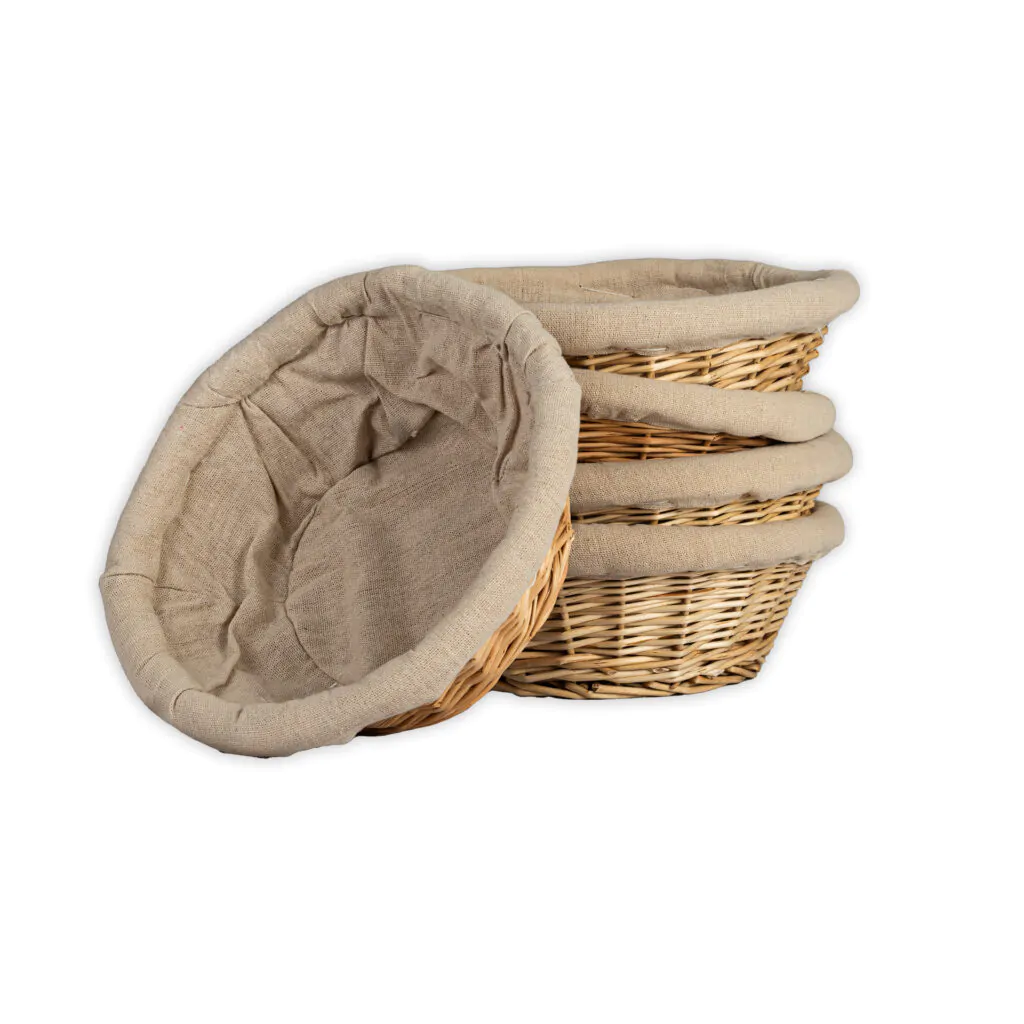
Move on to the preparation of the sticky buns. After resting for 10 hours, divide the resulting dough into 2 to form 2 sticks. Place them in 2 clean, floured tea towels (without fabric softener). Finally, fold the cloths over the 2 dough pieces and leave them to ‘rise’ for 45 minutes at room temperature (20-25°C).
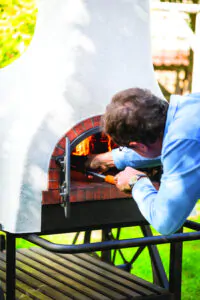
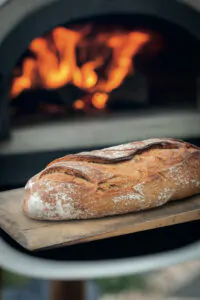
Baking bread in a wood-fired oven. Flour the shovel before placing your loaves in it. Scrape or nibble (with a razor blade) the top of the bread dough with a sharp blow. These cuts create ‘weaknesses’ in the bread crust. This allows water vapour and CO² to escape, a bit like a chimney, and allows the bread to puff up.
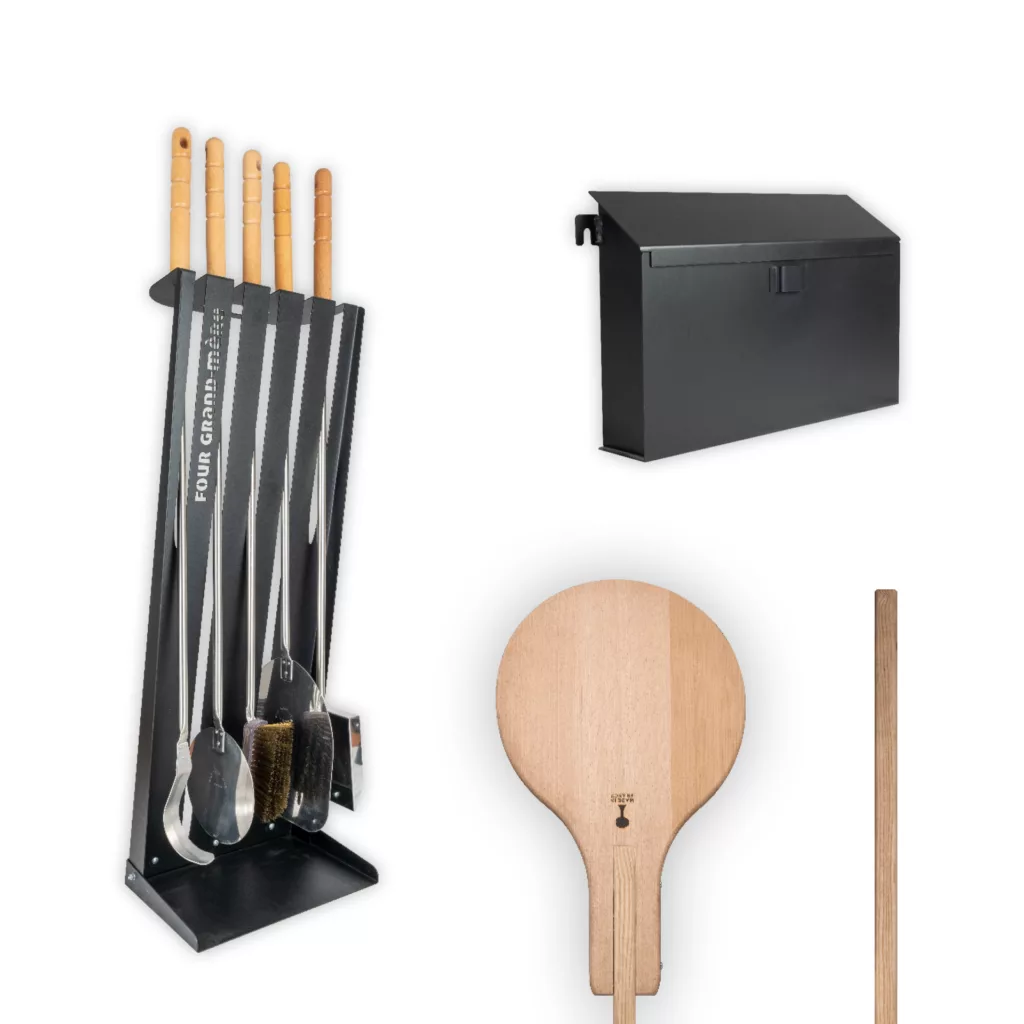
Place the 2 loaves in the oven on the hearth in the oven, which has been swabbed beforehand using a brush with brass bristles. You can also use a long handle with a piece of wet cotton wool attached to the end to swab the bottom. At the start of baking, add steam, either with a steam gun for 3-4 seconds, or by leaving a bowl filled with boiling water inside the oven. By adding moisture in this way at the start of baking, you prevent the surface of the dough from drying out. A good level of humidity also delays the formation of the crust, making it thinner and glossier.
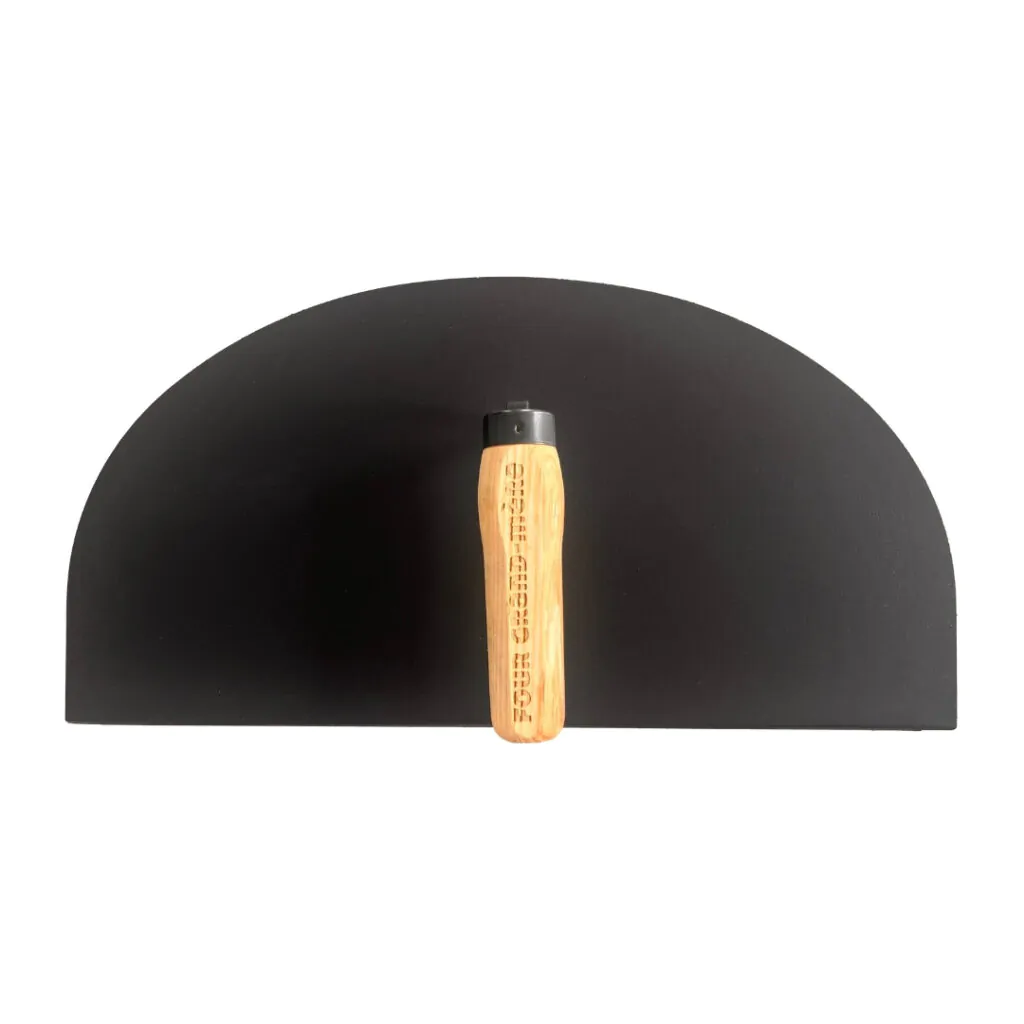
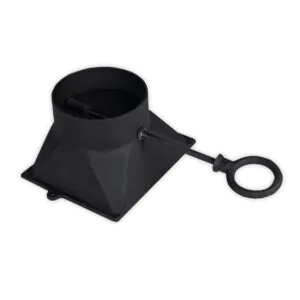
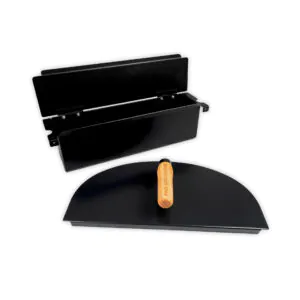
Leave to cook for 20 to 25 minutes. When the oven reaches 250°C, close it with the insulating door and the nozzle flap closed. Do not open the oven during this time, as the bread must be baked with the oven closed. To check whether the bread is cooked, tap it with your finger. If it sounds hollow, it is ready. If not, it deserves a little extra time in the oven. Once your loaves are cooked, place them on a rack and leave to cool.
Please note: la pâte à pain est un matériau très sensible aux variations de température. Il est donc préférable de façonner votre pain sur un plan de travail en plastique ou en bois, en évitant les matériaux « froids » comme le granit et le marbre. Même à température ambiante, ces matériaux naturels risquent de créer un choc thermique au contact de la pâte.
De la même façon, si votre four est installé en extérieur et que la température est inférieure à 22 °C, il est vivement conseillé de couvrir vos pains d’un torchon ou de les placer dans une boîte hermétique refermée par un couvercle jusqu’à l’enfournement. En procédant ainsi, vous prévenez tout choc thermique qui nuirait à la bonne levée de votre pain.
Vous venez d’acheter un four à bois et vous vous posez encore des questions sur son utilisation ? Lisez avant toute chose our advice on how to get the most out of your wood-fired oven.
Enjoy your meal… and see you thereClick here to discover all our recipe ideas using a wood-fired oven !



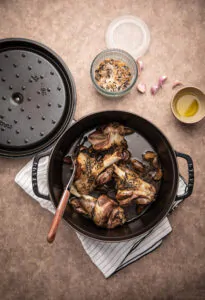
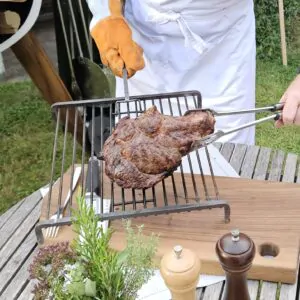
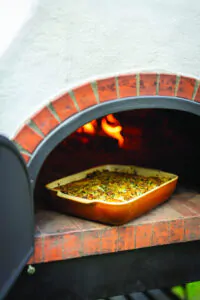


 Thanks to this recipe specially designed for wood-fired cooking, treat your guests to a tender, flavourful turkey that's golden brown to perfection.
